Flip-Clock Wooden DIY Desk Calendar
It's a new year which for many of us means it'southward time for a new calendar! This DIY desktop calendar takes its styling from the flip-clock beauties of yesteryear, adding a retro touch to the modern workspace.
 View in gallery
 It's a perpetual desk agenda too which means make information technology once, and you'll be able to keep tabs on the day year later year. Get the how-to beneath!
 View in gallery
  View in gallery
  View in gallery
  View in gallery
  View in gallery
  View in gallery
 Materials you'll need to build a desk agenda:
- Unfinished Wood Block Calendar
- Acrylic Black Paint
- Pigment Brush
- Wood Grain Contact Newspaper
- Printable Template: Download the three-part PDF HERE, Here & HERE
- 1″ White Vinyl Number Stickers
- one/iv″ White Vinyl Alphabet Stickers
- Pair of scissors
- Pencil
DIY desk calendar step by step:
 View in gallery
 Pigment the wooden cubes and rectangular blocks completely black with acrylic pigment.
 View in gallery
 Once the black paint is completely dry out centre the one″ white number stickers on each face up of the cubes. Cube #1 volition have numbers i, 2, 3, iv, 5, 6. Cube #ii will have numbers: 0, one, two, 3, seven, 8.
Related: 30 Cubicle Decor Ideas to Make Your Function Style Piece of work every bit Difficult as You Do
 View in gallery
 In one case the cube numbers are on, add the month names using the 1/four″ vinyl letters to the skinny rectangles. There are 12 sides and then i for each month!
 View in gallery
 Print out the 3-function template on computer newspaper, and tape the iii sheets together. The template shown in the images is the original template so it'll wait a little different than yours!
 View in gallery
  View in gallery
 Cut out the template and lay it out on the backside of the contact newspaper ringlet. Trace the template onto the contact newspaper.
 View in gallery
 Cut out the shape in contact paper and fold in along all the dotted lines.
 View in gallery
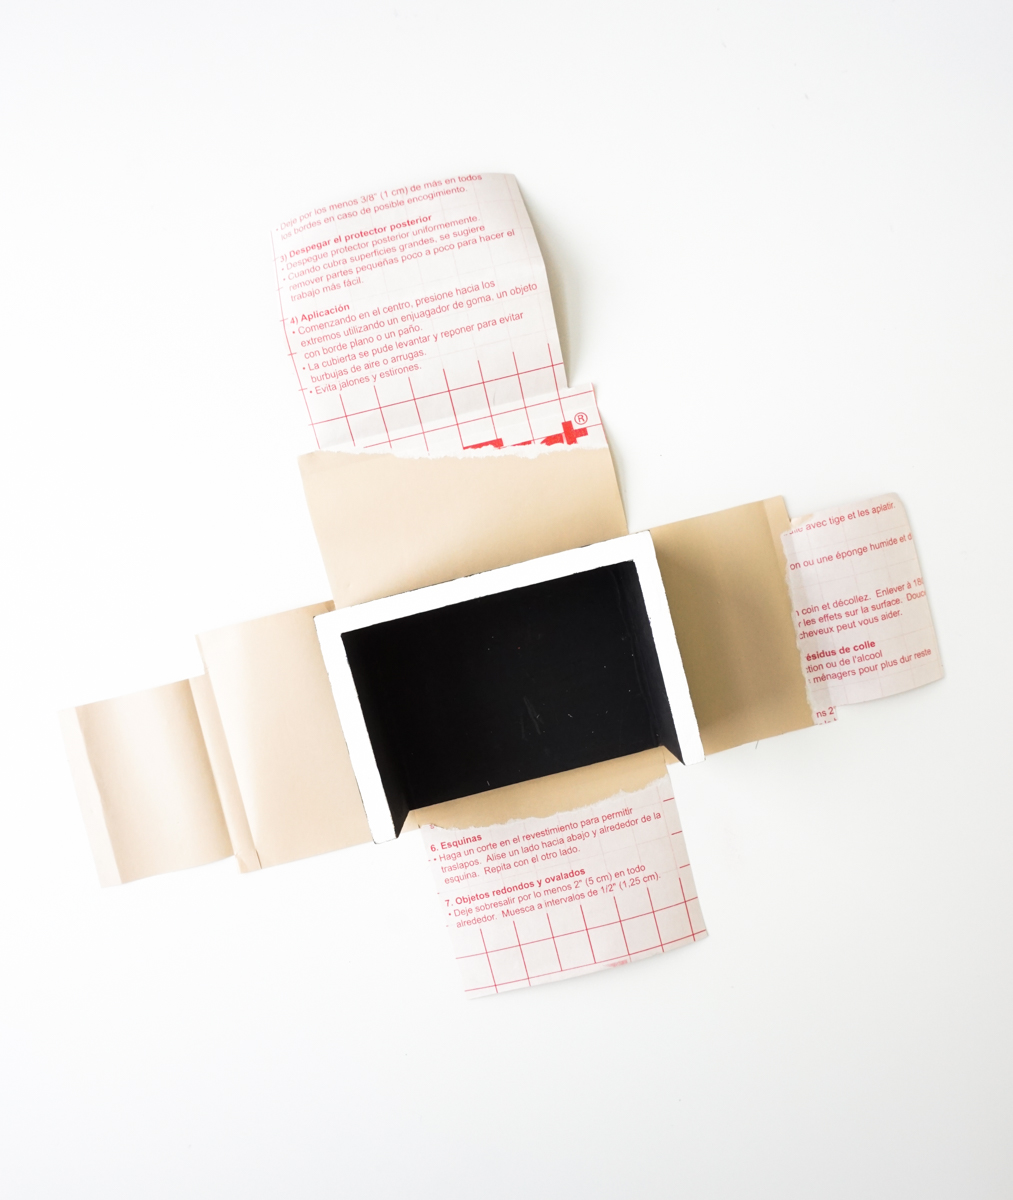
 Tear off the left "arm" and the center portion of the contact paper bankroll. Center the calendar "house" on the centre rectangle as shown above.
 View in gallery
 Fold the left "arm" in and around the left side of the "firm." Printing down firmly to attach the contact newspaper. Adjacent, peel off the backing on the right "arm" and do the aforementioned wrapping the contact paper around the right side of the "house."
 View in gallery
 Next peel off the contact newspaper backing on the tiptop "flap" and fold over the summit of the "house" around to the underside, and down the inside back. Press firmly to attach.
 View in gallery
 Concluding but not least, skin the backing off the lesser flap and fold upwards along the inside back. Identify the blocks inside, set up to the electric current calendar month and day, and y'all're in business organization!
 View in gallery
 Source: https://www.homedit.com/flip-clock-desk-calendar/
0 Response to "Flip-Clock Wooden DIY Desk Calendar"
Post a Comment